ไม่มีสินค้าในตะกร้า
SETTING UP
FILL A POT
ATTACH YOUR COOKER
PLUG IN
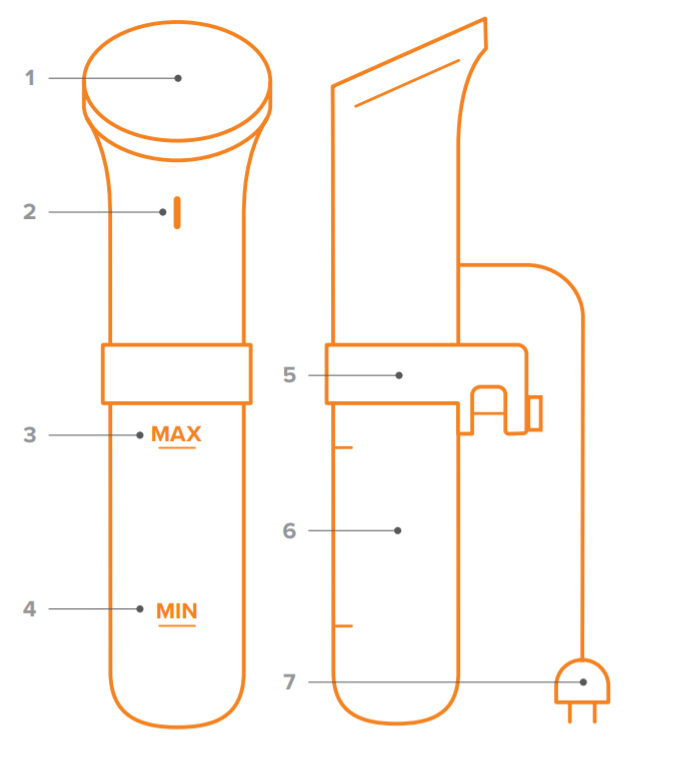
1 Display
2 LED Indicator
3 Maximum Water Level Line
4 Minimum Water Level Line
5 Adjustable Clamp
6 Removable Skirt
7 Plug
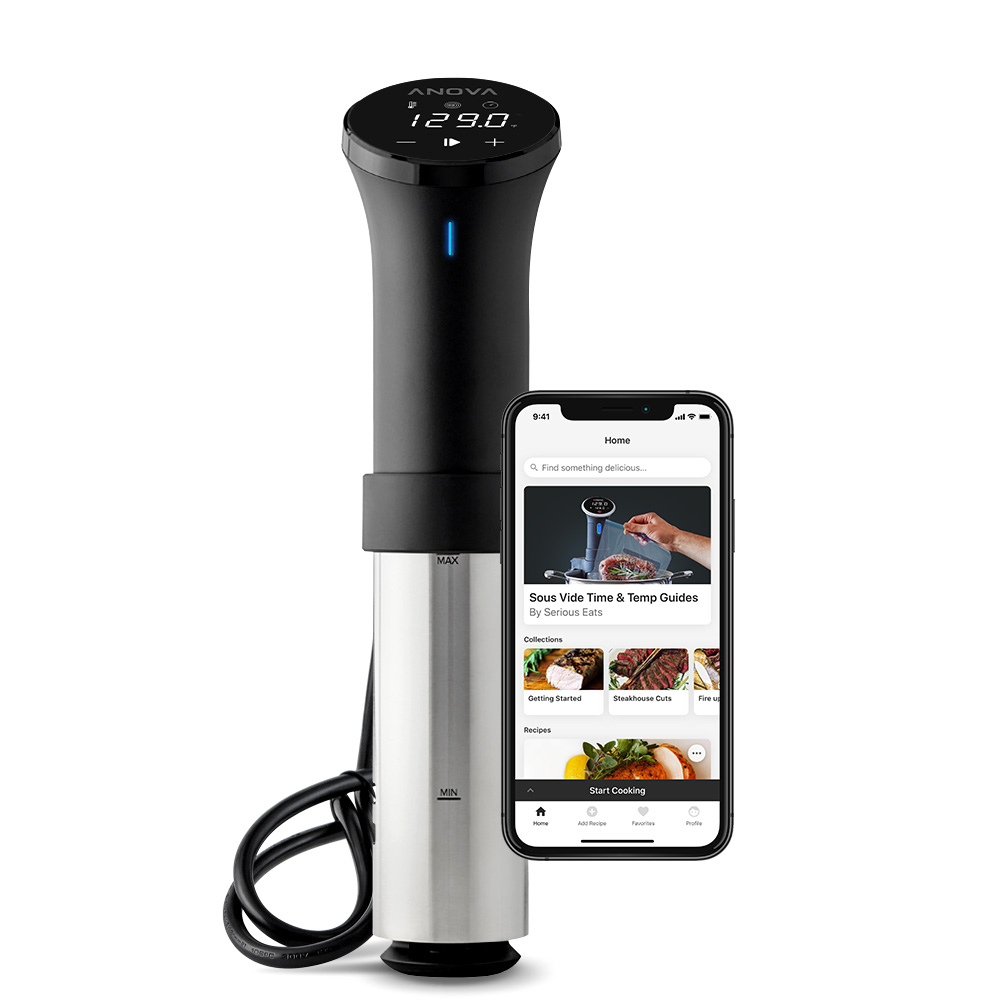
LED LIGHT MODES
White: idle Pulsin
Blue: preheating
Solid Blue: cooking
Red: low water or error
Pulsing White: pairing